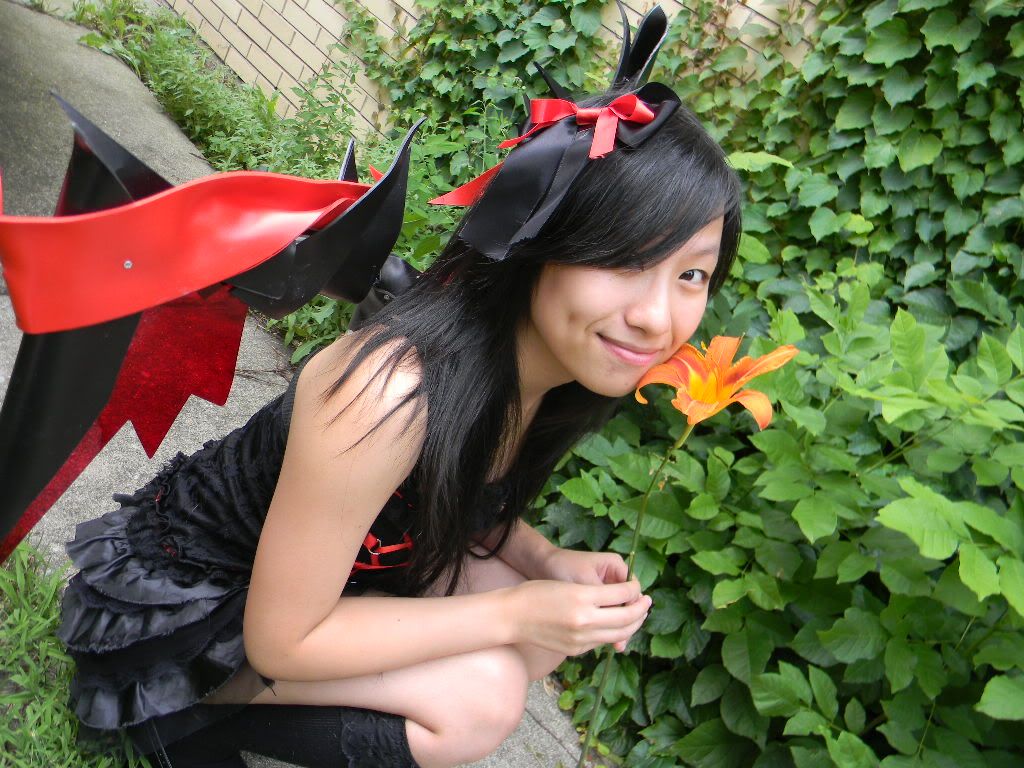
Hey guys! This is the blog post containing the instructions for Mecha Chibi Wings! A viewer asked for this tutorial but she’s a teeny tiny Asian girl so big mech wings won’t work for her. Chibi wings are much more reasonable for a girl her size to carry and wear around as part of a cosplay. If you're interested in looking at the videos which have more details about how to make this fabulous prop, please check out the videos on Youtube at
http://www.youtube.com/user/FinalCosplayCorps/search?query=mecha+chibi+wings
The first thing you want to do before you start building any project is to make a preliminary plan or schematic. I recommend you try to make a plan or schematic for a few reasons.
1. You can use a schematic to estimate the cost of the project by planning out what materials you are going to use, how much of it you will need to buy, and any equipment you may need. It allows for you to start a rough budget what you’re going to do, which is always good when your checkbook is feeling a pinch! I always price my things on the back of the schematic to see how much my project will roughly cost me. As a side note to budget management, the key is to not do a lot of big projects frequently. I have a huge mech project like once a year or a big project that’s like $600. That’s bad as a huge chunk but not as bad if I break it down into small payments over the course of the year.
2. Creating a schematic also allows you to plan out how you’re going to create the prop so that you’ve got a guide on how you’re going to do it and you aren’t fumbling around as you make the prop. This way you can try to foresee some problems that might occur and adjust for them ahead of time so you don’t waste materials (and money) later on.
3. A schematic also gives you an estimated weight and look of the final project.
Alright, so before we get started you’ll need your tools and materials. For this project we needed the following materials. You need 3mm. PVC sheeting in red, white, and black colors. You will also need 3mm. transparent red acrylic sheeting, IPS Weld on #3, a 2 mm. carbon fiber rod, two push release key rings, some medium density fiber board (MDF), #4 half in, some Philips flat head wood screws, marine power PC 11, and some black and red acrylic paint. The tools you will need include a hand saw, heat gun, yanky push drill, Philips screwdriver, pliers, rasp, file, sponge brushes, 80 grit sanding sponge, fine tip marker, and rulers.
The first thing that we want to make is a back support.
Having a back support piece is crucial because it allows the weight of the prop to spread across your entire back so you aren’t putting the entire strain on your shoulders. If you watched the video you can see what kind of shape I cut out and how I molded it to my body so that the weight isn’t all on my shoulders. This kind of back support spreads the weight evenly across my entire back and it is heat formed to fit my body so it’s nice and comfortable. Having this kind of a back support is so much nicer than having to put all the weight just on my hips, shoulders, or my back.
With that being said, the first thing that were going to do for our chibi wings is make the back support. Since we are making heavy ones and not your typical feather wings, you will need a plate to steady the wings so they don’t flop everywhere. You will also want something to harness the wings to (like a bra).
We’ll start off with a piece of PVC. The reason we choose to use pvc is because it is thermaformable. For her, I want this to be 8 inches by 4 inches. I cut out two separate plates. One of the plates is going to attach to the bra later on and another one of the pieces will attach to the wings themselves as the main support.
If you look at the first video you will see what kind of shape I chose to cut out. You will need two of these pieces cut out. The reason for this second piece is so that it will support the wings on your back to make sure that they don’t flop over.
After you’ve figured out how big you need it cut to fit yourself you can cut on the plastic. If you’ve never cut plastic before I have posted a tutorial online for that and you can check it out (NEED LINK). As you cut, be aware of the angles that you are cutting. Some of these angles may be very small and it will be harder to cut from that side. Cut from the side with the widest part that needs to be cut and move to the smaller angle.
Now that you have both your parts cut out, we need to punch some holes in so that we can create supports on the side so that these wings will stay even and not sag in one direction. In order to do this we’re going to drill some small holes. The more holes that you put in means the more support this piece will get since the weight will be distributed over a large area. I’ve decided to put nine holes on each side.
Now guys, this is super important. When you drill these holes make sure that these holes are ¼ inch apart. If you put them more apart then you put extra pressure on the thread you will handstitch in later. If you put the holes closer together the thread can saw its way through the plastic over time.
So now you’ve got two plates cut to fit you with the holes punched in. Time for your next step. Pick one of the two pieces as the one you want to strap to the bra. This will be what pushes against your body and supports the rest of the piece. Now make sure that you file down all the corners. The last thing you want is for some sharp and pointy corner to be digging into your back.
After you file all the corners and make sure they’re rounded off you’ll want to get the heat gun. We’re going to use that gun to shape the support so that it molds to your back. You’re going to want to roll the edges up a little bit so that they don’t push into your skin. This piece will be under whatever costume she’s wearing. The other piece will be on the wings itself and doesn’t pose as big a problem. This piece that we’re working on now ensures that she can put the wings on or take them off without taking off her shirt. Mark this piece with an X so you make sure that you don’t confuse the two pieces.
So we need to have these lock together. The piece that you want to be directly on your skin on your back will be worn underneath your shirt and the piece that connects to the wings directly will be on the outside. We need to have these lock together quickly and easily. For this she will need to put a buttonhole on the back of her shirt or have a shirt that buttons up in the back. The bra will support the wings. Hopefully we will make these wings as light as possible and we won’t put too many elements into this.
So here we’ve got two small rings and two small clasps. These are going to be used to lock our wings to the support. We want two of them to make sure that the wings don’t pivot. What we need to do is insert the clasp into one piece and we want to insert the two rings into the other piece.
So how do we get these rings onto the PVC? Well, we are going to start out by drilling a hole smaller than the ring itself. We will need to make a hole in the middle. You will need to make sure that the tool you are using will drill a hole smaller than the ring. Carefully push a hole into the middle of both pieces of the back support.
After you’ve pushed your hole in, pick up your heat gun and heat the PVC. Be careful to make sure that the plastic doesn’t bent its shape. We want it soft enough that it will be easy to fit the ring in. Go ahead and poke the ring into the hole. The ring has small lips and we want to make sure the PVC wraps around those edges.
Now we’re going to put the clasp into the other piece. This one we want to mark because we have to make sure the clasp and the ring line up are even. If they don’t line up the prop will be unbalanced and structurally weaker. After you mark your hole, drill into it again. Keep in mind that these fittings need to be really snug. If they aren’t the props won’t hold properly and they won’t be as structurally sound. This side we have to make sure we know what side we’re putting the clasp in. The other one didn’t matter as much because the ring is the same on both sides. Since the clasp has buttons on one side that lock onto the lip of the rings we need to make sure that we insert the clasp so that the buttons will match on the right side to push the panel with the support.
As a note, all of you can likely see that there’s a small gap between the two panels. That is to allow for her shirt to sit in between the two panels. Don’t worry about that. The wings will stay stable as long as we put two rings and clips.
Now it’s time to start the actual wing parts. I chose to go with matte colored PVC because it is easier to work with. Acrylic is nicer and more pricy but I use different tools for that so to keep it simple for this prop I chose to go with the matte.
Draw your wing frame shape out first. After you draw this out you can begin sawing out the pieces from the PVC. MAKE SURE that you keep things small when using acrylic vinyl. PVC sheeting is fragile so try to keep them small to reduce the risk of damage. I chose to use MDF for the base of the wing frame. Since this is just the frame it doesn’t need to be thermoformed or altered. It just needs to be cut. This material is stronger and cheaper so it’s good to use.
As you see at 4:40 in the 3
rd video of the series, located at
http://www.youtube.com/user/FinalCosplayCorps#p/search/10/Bpr5V0srvlM you can see that I chose to use more of an L shape. This will be how the wings stick out from the back. I will have two pieces of this cut with one piece of acrylic in the middle and I will put as many screws through these pieces in the middle as I can so that it will hold in place without breaking.
Since you need one for each side you will need to cut a total of four L pieces of the first PVC and two L pieces with the acrylic. This way you have two pieces of regular PVC and one piece of acrylic for each side. After you cut all your pieces we will need to put the screws in.
To make sure that the wings can have a little bit of spring we will have to make sure that we don’t mount them directly to the center piece. To do this we will mount them using an acrylic rod. The rod I chose to use was a 2 millimeter rod. It’s thin but it’s still really strong. I’d suggest using carbon fiber rod. It’s pretty expensive so I’d recommend just getting what you need (any specific amount). DO NOTE: One problem that you will have is combining the materials. I don’t have the really strong cement stuff that you’re supposed to use but for now I’m going to put it into the center piece.
In order to get this rod in I need to drill a hole big enough to thread the rod through. You will want to put this hole about two inches in from the end of the wing frame. After you drill the hole you will heat up the carbon fiber rod and set it between both frames before you bend it so that both ends are parallel with the frames and they stabilize the wings to the support. After you attach the wings that way we need to make supports to make sure that the wings won’t snap off. I chose to make a triangular section out of MDF right underneath each wing so that it would help prop the wings up.
After you’ve got the base done you’ll need to pull out your colored PVC. Cut your pieces to how you want them to look for each wing. We will be screwing the PVC into the support before we use the heat gun to thermaform the plastic. Notice that we’ll be layering all the PVC strategically so that each upper layer covers over the screws underneath it.
When you heat this plastic you need to make sure the gun is always moving and that the light is just on one part you get hot and cold zones . You can warp the plastic or burn it if you don’t do this correctly. Also, you need to be very careful when dealing with acrylic PVC. It’s super fragile but can be thermoformed. However, it melts at a much lower temperature so be careful when you use it.
The girl who suggested this prop ended up getting thick bindings to use. She picked up bindings similar to the ones that are used on backpacks and that is how she added additional support in addition to the back support.
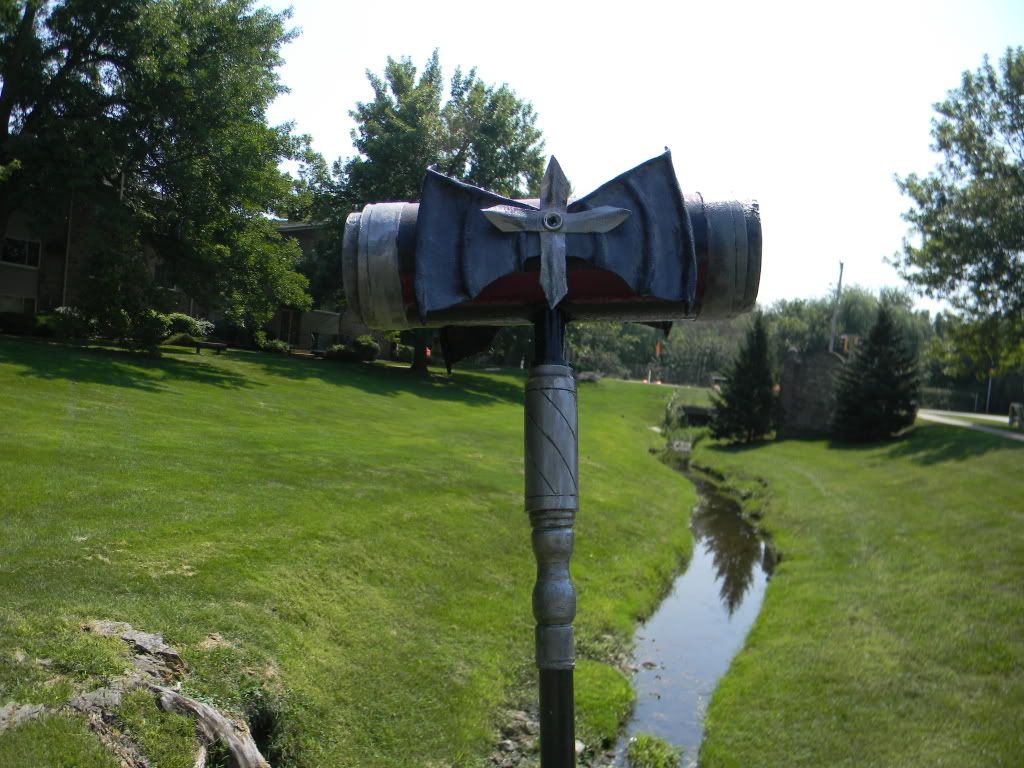
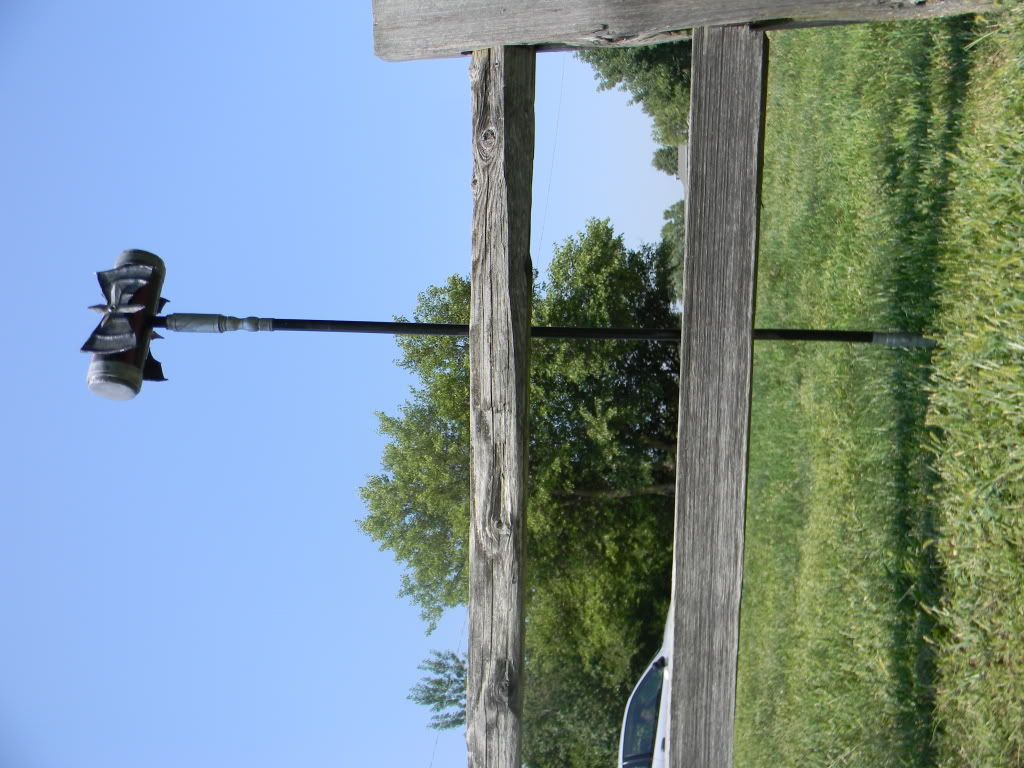
There we go! Chibi Mecha Wings! If you have any questions please feel free to ask!