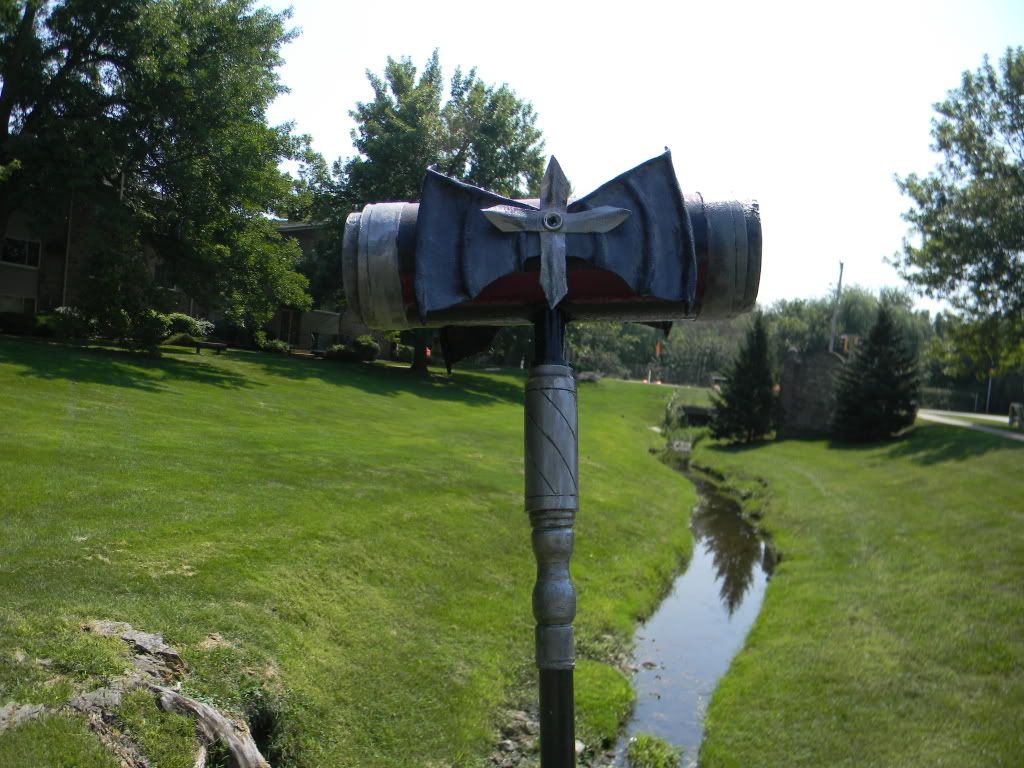
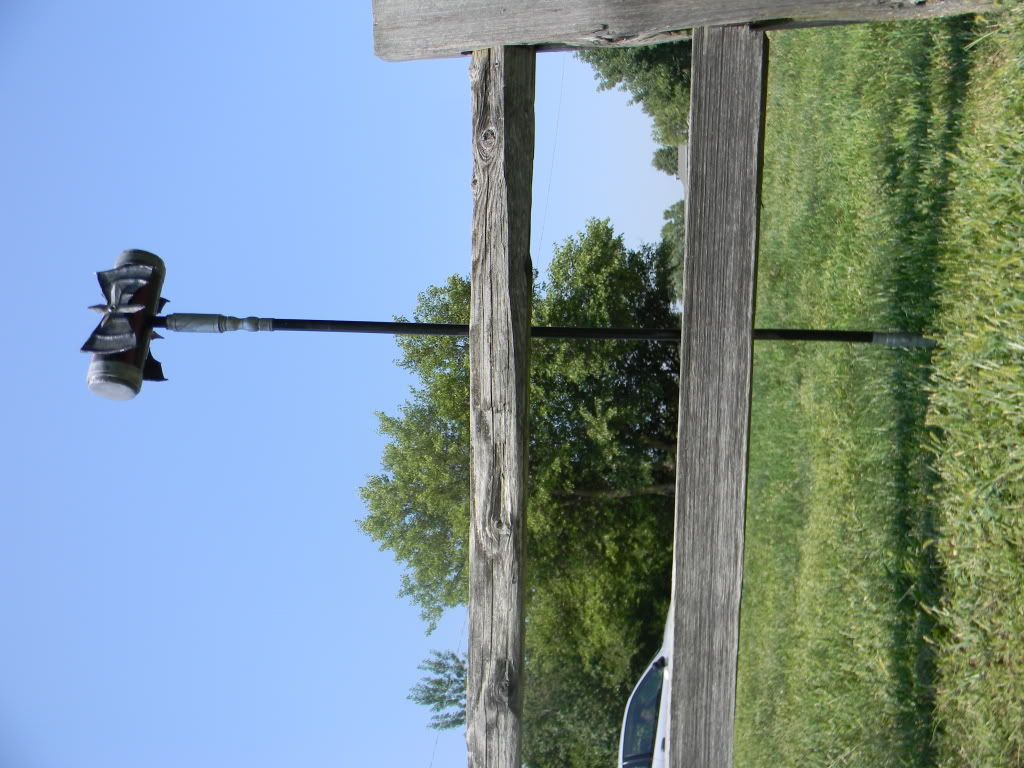
Hello! This blog post for Let’s Make Cosplay is dedicated to the Batty Hammer! I accidentally broke one of my girlfriend’s props and so this was what I made for her to make up for that. If you want to see more detailed videos about how to make this fun prop, check out Knives' videos on Youtube
First things first. Here is the list of materials and tools you will need.
Materials: You will need: approximately five feet of 0.5 inch pcv pipe, around 3 feet 0.5 inch dowel rod, 3/4 inch PVC pipe, one inch PCV pipe, wonderflex, resin, a 4 inch cardboard tube, EPS foam, 3M insulation 78, #8 one inch Philips flat head wood screws, washers, black and sliver acrylic paint, and varnish.
Tools: You will need a hand saw, an exacto knife, a heat gun, a dremmel tool, a yanky push drill, a Philips screwdriver, a rasp, a file, some sponge brushes, a paint brush, a 80 grit sanding sponge, a mixing container, some mixing sticks, some paper towels, a fine tip marker and rulers.
The first thing we have to do is layer the PVC pipe for the handle. In order to do this you will need to heat them up with the heat gun to make them expand. After you do that you’ll need to fit them all up into each other. The half inch PVC is for the handle. You will put the 3/4th inch PVC pipe over that and 1 inch over that. You will be putting the hammer head on the top of this pipe and adding the stuff on the bottom of this setup.
In order to avoid sculpting all of the parts I decided to choose to layer pieces of pipe over other pieces to achieve the same effect. However, since the pipes are different thicknesses I chose to do other details with wonderflex.
I chose to utilize a half inch dowel rod to give the handle more rigidity. I inserted the wood into the bottom so that it could give some support and act as a plug for the bottom so that I could pour resin into the entire handle portion and around all the different size tubes. If you would like to learn more about mixing resin please consult the blog post for that. I have realized that it’s much better to fill the entire base with wood, so next time I may choose to do this method with more wooden dowel rods.
Now we need to move to the hammer head. I wanted to create a dented metal look so I chose to make the endcaps out of foam. Since foam has a frazzled and weird texture it can be painted to look like dented metal. It also makes the end caps nice and soft so if the weapon is actually used it won’t hurt on impact, thus making it safer for photoshoots.
You will need to start by cutting slits at the top of the handle. After you cut these slits you are going to heat them up and bend them so that you can turn them into tabs that can hold screws that will go into the hammerhead. After that you will need to begin sculpting, shaping, and carving the designs with a handsaw. After the detailwork is done you should get the wonderflex (which is good for detail work). Heating up the wonderflex allows it to be applied to other surfaces (you can heat it with water but I prefer to heat it with my heatgun). I completed the bottom of this prop with wonderflex scraps. Never throw away wonderflex scraps! You never know when you’ll need them!
After you’re done with the head of the hammer, heat up the top of the pipe and start attaching the head of the hammer to the handle. Make sure you put in heavy screws. Note, this is a bad support structure for a prop like this but this is a very small hammer so no big deal.
Next we’ll work on the wings for the hammer. Again, using wonderflex for this is great. I chose to cut the frames out before I cut and stretched the wonderflex and formed the wings over scrap to do the raised part in the wings (similar to sculpting it out of clay). Just make sure you keep it in its shape until it’s cool or the shape will fall out! I chose to make the crosses out of wonderflex as well since it mounts well to itself once it’s heated up.
Now to get started with painting. Make sure you PRIME everything before you paint it. If you don’t, the paint job will be inconsistent. Plastics ESPECIALLY do not take paint well so you have to prime the materials with a base coat first.
Once you’re ready to mount everything else together after priming the prop, grab a washer and set it on top of the crosses and wings before you screw it all together onto the hammer. The washer protects the wonderflex from the screw so that it won’t rip through the material.
After that, start working with the silver paint. Metallic paints are weaker for pigment so you’ll need to base coat over the primer with a similar color. I chose to spray paint the head of the hammer. HOWEVER, note that spraypaint eats through foam. If you choose to spraypaint the hammer make sure the areas with foam are well covered. Tape off areas that you aren’t painting a specific color and go back to those sections after the paint dries and you can take off the tape safely.
In order to give the prop a more defined look I chose to base it in silver paint before I did a black wash. The black will go into all the cracks and crevices and shows the details of the hammer much more clearly. After that I did some dry brushing to illustrate some more wear marks and dents. The dry brushing leaves some ray edges as highlights where it’d be more shiny in war and it also allows other parts to have more shadows.
No comments:
Post a Comment