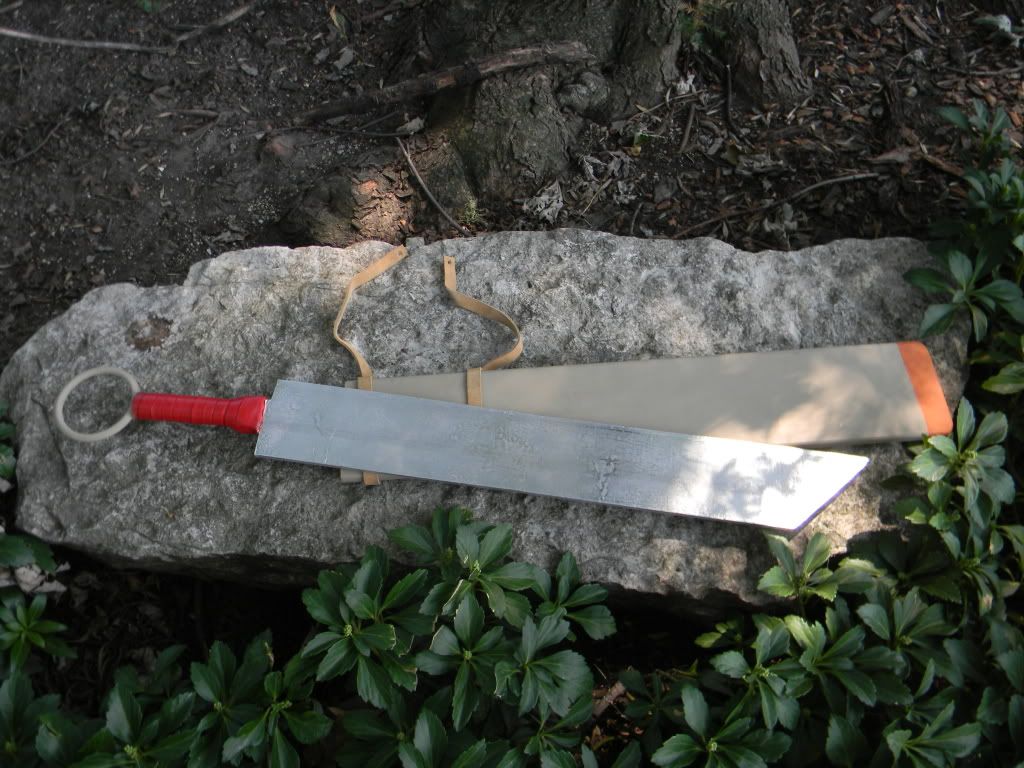
The sheathed sword prop was a prop that was a Youtube watcher suggested. It was a really interesting prop that I wanted to make so I chose to create it and gift it to the viewer, especially because I wanted to create a set of videos that also covered how to make a sheath that would comfortably hold a sword properly without denting the tip of the blade (which is a common problem with many sheathes). Most sheathes have a flat bottom and causes the tip of the blade to wedge flat onto the bottom which damages the tip. Interested
The materials I used were as follows: lambent flooring, 1/8 inch medium density fiber board (MDF), #4 half inch Philips flat head wood screws, 1/2 inch PCV pipe, 1/2 inch wood dowel rod, aluminum tape, a wood ring, friendly plastic, poster board, white glue, cement glue, red pleather, and acrylic paint (tan,gold and mango colors).
The tools that I used were as follows: a hand saw, an exacto knife, a heat gun, a yanky push drill, a Philips screwdriver, a rasp, a file, a pair of scissors, some sponge brushes, a 80 and 150 grit sanding sponge, a fine tip marker, and some rulers.
Before we start I want to cover some issues with aluminum coating. Before you coat anything in aluminum coating you need to make sure you start with a firm and ridged material. Aluminum coating wrinkles really easily. If you start with a flexible or flimsy material the sword will bend and the coating will wrinkle. In order to combat that the sword needs to be strong, firm, and sturdy so it doesn’t bend and the sheath also protects the sword and keeps the sword straight while it’s sheathed so it bends less and thus lasts longer.
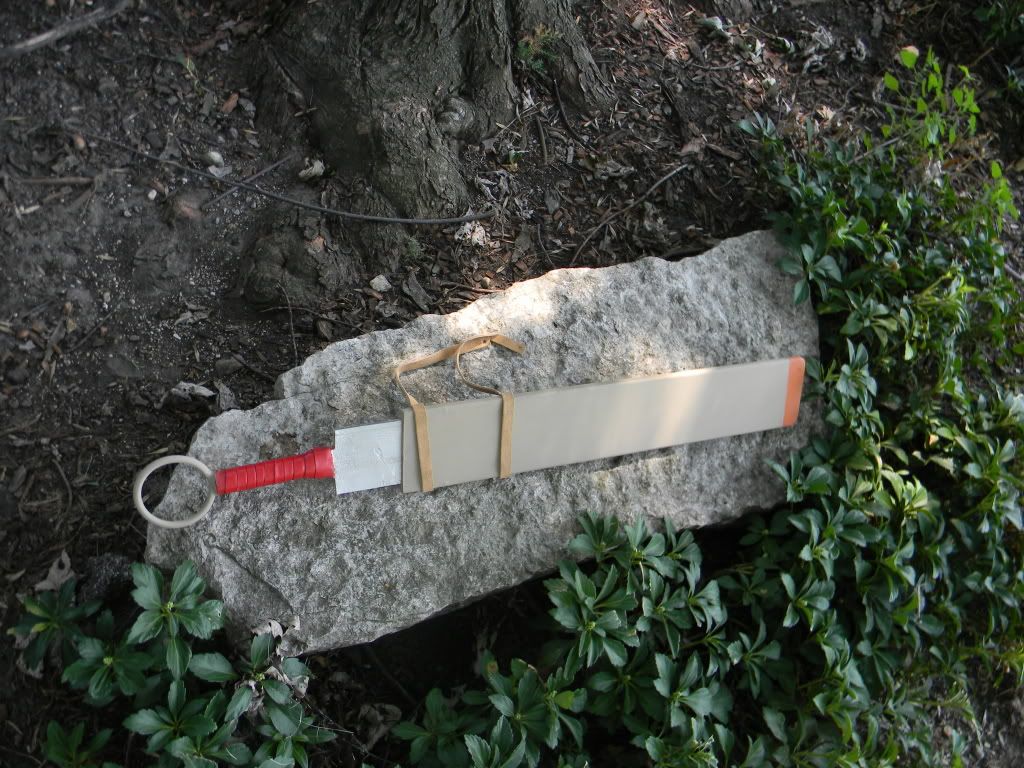
In order to make the sheath you will want to cut it out of the same wood as the blade and at the same size so that it will fit snugly. After that, the other portions of the sheath can be made out of whatever wood you want. I made the sheath with three layers. There is a top layer, the middle layer, and the inside layer. The middle layer of the sides of the sheath are the wood that is made from the same material as the blade. I glued some poster board to give some more wiggle room on the inside of the sheath so it would help protect the blade. You need to be able to gauge the friction that will happen when pulling the sword out of the sheath or sliding it back in and the poster board helps decrease the friction.
After I get all those portions cut out (the sides and the insert at the bottom of the sheath to protect the bottom of the blade) and the poster board glued in I took a wood planer and rounded the edges of the sheath, making sure that everything lined up before I finished rounding the edges of the sword and sheath. If you find any holes in the sheath after you’re done rounding off edges and you put the sheath together you can use friendly plastic to fill them.
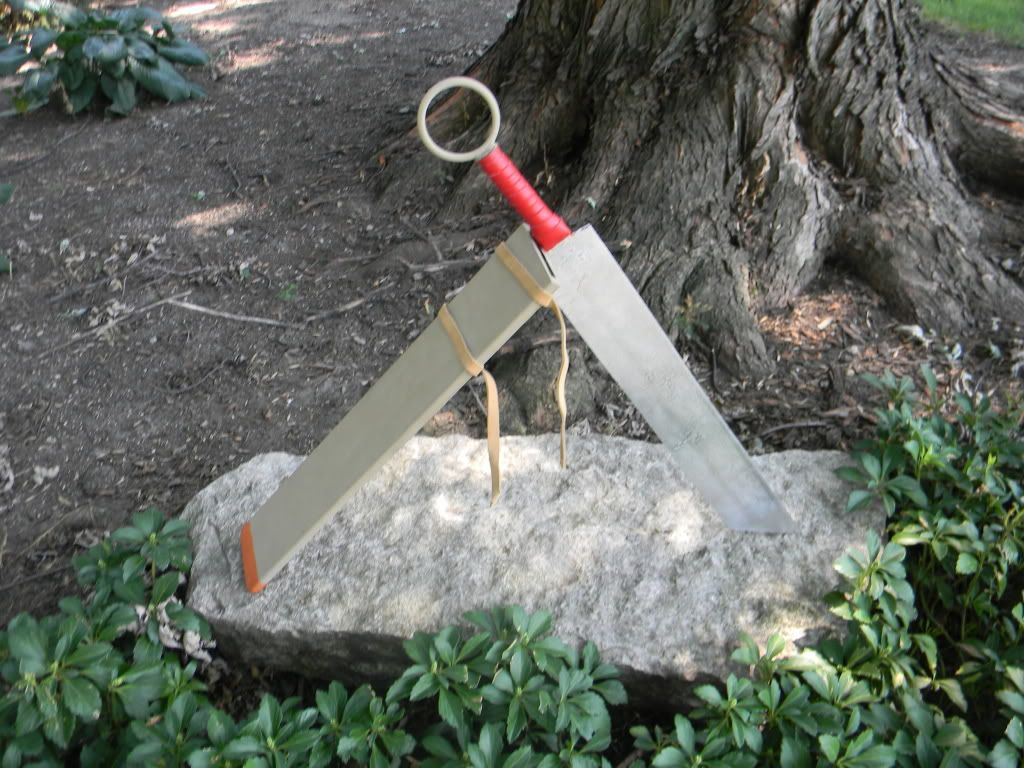
After you’re done with that portion of the sheath you can move to the handle of the blade. I chose to use a piece of ½ inch pvc pipe. I cut a slit down one side of it so that I could heat up the pipe and wrap it around the nub I made on the blade to insert it into the handle. You can heat up the pipe with a heat gun. After you’re done wrapping the PVC over the nub you need to put screws through the PVC and into the nub potion to keep the handle firmly onto the sword. You’ll want to do 4 to 6 screws (2-3 on each side of the handle). If your sword weighs more, you’ll want to put in more screws for support.
In order to make the ring portion of the handle I decided to take a wood ring. The problem with using wood is that you always have to be careful in regards to the grain. If you screw against the grain in the wood it will cause the wood to splinter. Since wood rings have grains that go in every direction it is impossible to put in a screw in a wooden ring because it would splinter. Since I couldn’t screw it in to mount the ring into the handle I chose to use friendly plastic because it is extremely hard and durable after it’s dried. I put a small slit in the ring so that it would mount a little better to the PVC pipe before I globbed on friendly plastic to make sure that the ring sticks extremely well and firmly to the PVC handle. Friendly plastic sticks quite well to things that are rough in texture and this helped to anchor the ring and the PVC together.
After the friendly plastic dried and fully hardened I took some red pleather and began to wrap it around the handle. I mounted the pleather to the PVC pipe with a screw before I glued around it to make sure that it stayed firmly and didn’t get pulled off. After that, you need to wrap up the handle, overlapping the pleather halfway over the piece before it so you get a thick double layer grip and a nice crease. After you wrap it fully from the top of the handle to the bottom you need to put a screw in the other end through the pleather and into the PVC. Make sure the wrapping around the PVC pipe is tight so that it doesn’t slip so that you lose your grip.
After you’ve got these parts all assembled and ready to go you can get ready to paint. You should sand all the edges of the sheath to make sure that all of them are smooth and you should also lightly sand the ring so that it will take well to the pain and not have weird textures across the wood.
Since there are holes where screws are on the sheath I used friendly plastic to hide the holes.
As a note, I choose to use friendly plastic as a patcher because I use my heat gun for a lot of crafting and the friendly plastic works well with that. It’s not an end all patcher. You could also use resin. I just prefer friendly plastic because it’s more convenient for me.
To start painting, you will need to put a base coat on the prop of whatever color you want the prop to be. With dark gold I use a brown base coat. If it’s a light gold I use a tan or a grey depending on what color the gold is. Metallic paints don’t take to whatever you’re painting the first time so you need a base coat. The primer you choose changes up how the metallic color will show later.
After you paint and varnish the sword and sheath it’s time to bring out the aluminum tape. For this, patience is the most necessary thing you need. You have to be VERY careful because this material is VERY easy to wrinkle or to misalign. Also, if you don’t have a big piece of aluminum tape to cover an area, take advantage of existing lines and edges to hide the creases. You’ll need about one foot wide aluminum facing tape. Contact paper brushed nickel also exists so you could use that as an alternative. Note, you don’t want to layer aluminum tape over itself because you can see the edges come through and it look like cracks. Also, make sure that you use a very stable and unmoving material as a base.
While you’re attaching the aluminum tape you need to peel away the adhesive protection slowly and work with it. Take a straightedge (I used a putty tool) to push it down. As you go make sure there are no air bubbles or cracks. Get it done. At some point you might have to layer over a piece of aluminum. Try to get it to stick as little as possible over the edge. Cut the edge with the exacto knife to pull the piece of aluminum tape away and you have a clean edge from piece to piece with no overlap.
The trick to making it look realistic is to sand it. For this, you’ll need some sanding sponges. You’ll want a rougher sanding sponge for the side of the blade that needs to look like it is being used. Just use it a little bit to give some direction and nick so that it looks like it’s being sanded against a stone. Use a lighter sanding sponge for the side that isn’t being used to remove the shine.
If you want to bring out the grooves you can also go in with a wash to bring out the scratches that you put in with the #35 sanding sponge and it will create more detail work. If you do it right you’ll have enough grit to distinguish it from the sword without it looking super old.
That’s the tutorial for this weapon! I did have some tips about how you could do a custom specialty edge on your blade and we’ll have that up in another blog post following this one titled specialty blade edges. As always, if you have any questions please check out our youtube or email us at finalcosplaycorps@yahoo.com!
No comments:
Post a Comment